How Long To Keep Tattoo Covered With Saniderm?
One of the key steps in taking care of a new tattoo is keeping it covered to promote healing and prevent infection. One option for covering a new tattoo is using Saniderm, a transparent and breathable adhesive bandage. If you ask, How long to keep a tattoo covered with Saniderm?
The answer to this question can vary depending on several factors such as the size and location of the tattoo, and the individual’s skin type. In general, a minimum of 24 hours to 72 hours of duration is maintained. If the Saniderm becomes too moist, starts to lift, or causes any discomfort, it should be removed immediately.
In this article, we will explore the benefits of Saniderm, when to remove it, and tips on how to care for your tattoo after removing the bandage.
How Long do you Leave Saniderm on a Tattoo?

The recommended length of time to leave Saniderm on a tattoo varies, but most tattoo artists recommend leaving it on for a minimum of 24 hours and up to 72 hours. This allows the tattoo to properly heal and helps prevent infection.
The final decision on how long to leave Saniderm will depend on various factors, including the size of the tattoo, the location of the body, and the individual’s skin type.
Saniderm is a type of second-skin tattoo bandage that is applied after the initial bandage has been removed from a new tattoo.
It is made of a medical-grade, breathable material that is designed to protect the tattoo from contamination while allowing the skin to breathe. Saniderm is a popular alternative to traditional petroleum-based bandages, as it is less likely to cause irritation and promotes faster healing.
Below are some details about Saniderm on a tattoo.
- The purpose of Saniderm is to create a moist environment for the tattoo to heal in. The bandage helps to protect the tattoo from external irritants, as well as to prevent it from drying out.
- Leaving Saniderm on for 24 to 48 hours gives the tattoo enough time to begin the healing process and prevents it from scabbing over, which can interfere with the final result.
- After 24 to 48 hours, the Saniderm bandage should be removed and the tattoo should be washed and re-bandaged with a different product. This allows the tattoo to continue healing and prevents the bandage from becoming too tight, which can cause discomfort and interrupt the healing process.
- If the Saniderm bandage is left on for too long, the tattoo may become too moist and the bandage may adhere to the tattoo. This can make it difficult to remove the bandage and can cause damage to the tattoo.
It is important to follow the aftercare instructions provided by the tattoo artist, as different artists may have different recommendations for the length of time that Saniderm should be left on.
Why Does The Saniderm Comes Off Early?

Sometimes Saniderm can come off prematurely, causing frustration and delaying the healing process. There are several reasons why Saniderm might come off early, including:
- Moisture buildup: Saniderm is not waterproof, so if it becomes wet, it will lose its adhesion and come off.
- Poor application: If Saniderm is applied too tightly, it can constrict the skin and cause it to come off. Similarly, if the bandage is not applied smoothly, it can cause wrinkles or air bubbles that can weaken the adhesive and cause it to come off.
- Sweating or heat: Increased sweating or exposure to heat can cause the skin to expand and the Saniderm to come off.
- Oil or lotions: Oils or lotions can weaken the adhesive on Saniderm and cause it to come off.
If Saniderm comes off early, it is important to take action to prevent infection and to ensure proper healing of the tattoo. Here are a few steps you can take:
- Clean the area: Clean the tattoo with warm water and gentle soap. Pat the area dry with a clean towel.
- Reapply Saniderm: If the Saniderm has come off in a large piece, you may be able to reapply it to the area. Make sure the tattoo is clean and dry before reapplying.
- Use a bandage: If you are unable to reapply Saniderm, use a sterile bandage to cover the tattoo. Change the bandage every 24 hours and keep the area clean and dry.
- Consult a professional: If the Saniderm is coming off frequently or the tattoo is showing signs of infection, it is best to consult a professional for advice on the best course of action.
It is important to follow the recommended instructions for applying Saniderm and to be careful to avoid exposing the tattoo to moisture, friction, or other factors that can cause the product to come off early.
Healing Stages of Tatoo by Saniderm

Saniderm is a type of tattoo aftercare product that helps in the healing of tattoos in a faster and more efficient manner. The healing process of a tattoo using Saniderm can be broken down into the following stages:
Day 1-3: Applying Saniderm. The first step is to cover the fresh tattoo with Saniderm. This will protect the tattoo and keep it moisturized while it heals.
Day 3-7: Peeling. After three days, the top layer of Saniderm will start to peel away. This is normal and indicates that the healing process is progressing as it should. Do not pick at the peeling layer as this can damage the tattoo.
Day 7-14: Removing Saniderm. Once the peeling process is complete, it’s time to remove the remaining layer of Saniderm. If the tattoo is still moist, wait until it has fully healed before removing the Saniderm.
Day 14-21: Final Healing. The final stages of healing are where the tattoo will start to look its best. The colour will be brighter, and the lines will be more defined. During this time, continue to moisturize the tattoo to keep it looking its best.
Day 21+: Maintenance. After the initial healing period is complete, it’s important to continue to take care of the tattoo to keep it looking its best. This means keeping it moisturized and avoiding excessive sun exposure.
Everyone’s healing process may vary. It is important to follow the instructions provided by the tattoo artist and keep the area clean and moisturized. If there are any signs of infection or other complications, seek medical attention immediately.
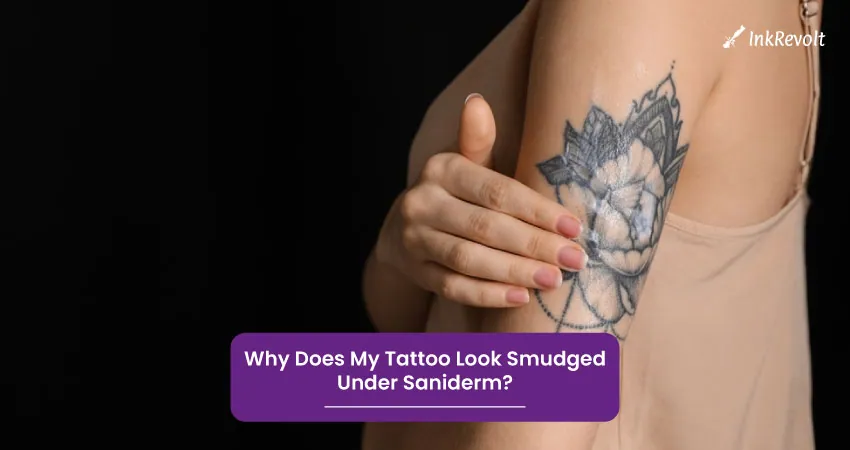
Why Does My Tattoo Look Smudged Under Saniderm?

The smudging of a tattoo under Saniderm can occur for several reasons.
- Firstly, the bandage may have been applied too tightly, causing the ink to smudge and blur.
- Secondly, the artist may have used too much ink during the tattooing process, causing it to bleed and spread under the bandage.
- Finally, it is possible that the skin was not properly cleaned and disinfected prior to the application of the Saniderm, leading to an increased risk of infection and smudging of the tattoo.
In conclusion, a smudged tattoo under Saniderm can be disappointing, especially if the tattoo was meant to be a permanent form of self-expression. It is important to take the proper steps to prevent smudging and to follow the recommended care instructions to ensure the best outcome for the tattoo.
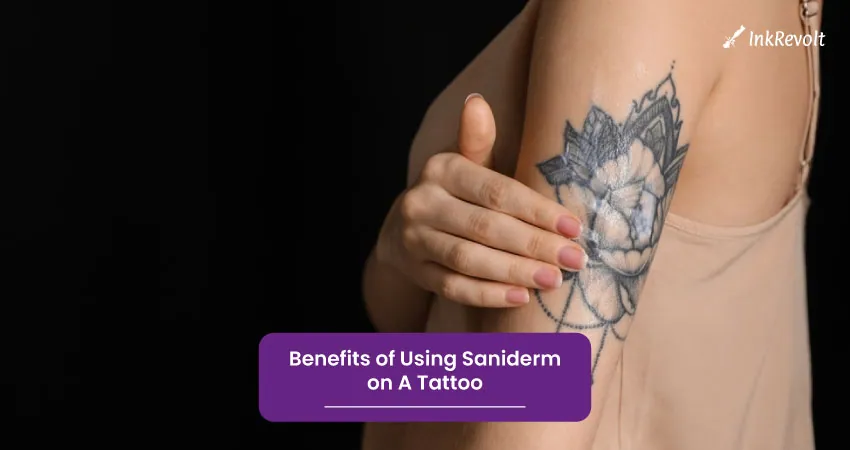
Benefits of Using Saniderm on A Tattoo

There are several reasons why using Saniderm is important for tattoo aftercare.
- Protects the tattoo: Saniderm acts as a barrier, protecting the tattoo from external factors that can cause damage or infection. This includes dirt, bacteria, and environmental factors like sunlight and wind.
- Prevents scabbing: Scabbing is a common issue during the healing process of tattoos. When the skin is exposed to air and is irritated, it can form scabs, which can cause scarring or damage to the tattoo. Saniderm helps to keep the tattoo moist and protected, reducing the risk of scabbing and scarring.
- Facilitates healing: The material used in Saniderm is designed to promote healing. It helps to regulate the temperature of the skin, reducing inflammation and promoting healing. It also keeps the tattoo moist, which is important for reducing the risk of infection and helping the skin to heal faster.
- Enhances the appearance of the tattoo: By keeping the tattoo protected and moist, Saniderm helps to enhance the appearance of the tattoo. It reduces the risk of scarring, fading, or discoloration, ensuring that the tattoo remains vibrant and clear for years to come.
Tattoos and the Wrapping Process of Saniderm

The wrapping process of Saniderm is a protective barrier that helps to prevent the tattoo from getting infected and also helps to prevent excessive scabbing. Here is a step-by-step explanation of the wrapping process of Saniderm:
Step 1: Cleaning the tattoo
The first step is to clean the tattoo area thoroughly with an antiseptic solution or soap and water. This helps to remove any dirt or debris that may have accumulated during the tattooing process.
Step 2: Applying Saniderm
Once the tattoo is cleaned, the Saniderm adhesive bandage should be applied. It is important to make sure the bandage is centred over the tattoo and covers it completely. The adhesive should be smoothed out to ensure there are no air bubbles or wrinkles.
Step 3: Securing the Saniderm
The Saniderm bandage should be secured with medical tape around the edges to ensure it stays in place. The tape should be applied firmly but not too tightly, to avoid cutting off the circulation.
Step 4: Removing the Saniderm
After approximately 24 hours, the first layer of Saniderm should be removed. This will allow the tattoo to breathe and prevent it from becoming too moist. The bandage should be removed gently and slowly, pulling away from the skin. If the bandage is stuck, you can use a little bit of warm water to help release the adhesive.
Step 5: Reapplying Saniderm
Once the first layer is removed, the tattoo should be cleaned and re-bandaged with a fresh layer of Saniderm. This step should be repeated every 24 hours until the tattoo has fully healed, usually within 3 to 5 days.
Step 6: Final Removal
Once the tattoo has fully healed, the final layer of Saniderm should be removed. The bandage can be gently pulled away from the skin and the area should be cleaned again.
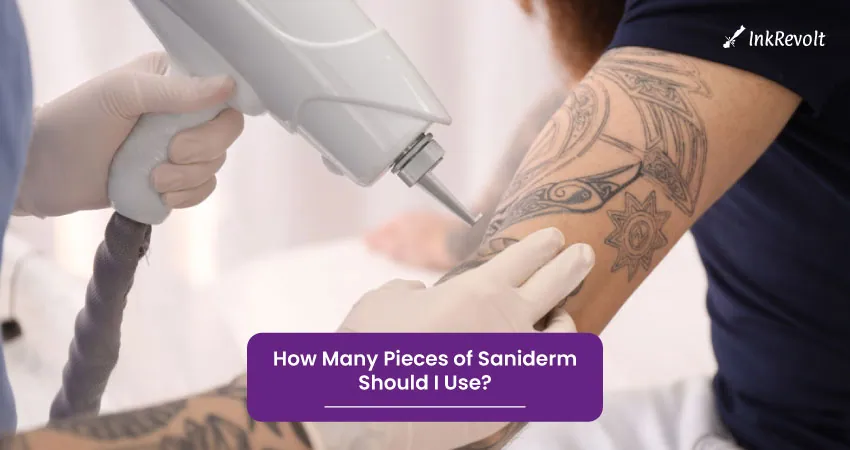
How Many Pieces of Saniderm Should I Use?

Depending on the region that has to be treated and the seriousness of the problem, a different number of pieces may be needed. The size and location of the tattoo or wound will determine how many Saniderm pieces you need to apply.
For minor tattoos or wounds, one piece of Saniderm is usually sufficient. You might need to use two or more pieces to completely conceal major tattoos or wounds. This is done for two reasons: to protect the wound or tattoo from external pollutants and microorganisms, and to hasten the healing process.
When applying Saniderm, it is important to make sure that the entire tattoo or wound is covered, and that there are no gaps or holes where bacteria could enter. Additionally, it is important to ensure that the Saniderm is tightly adhered to the skin, as any air pockets or wrinkles could compromise its effectiveness.
If you are unsure how many pieces of Saniderm to use, it is best to consult with a healthcare professional or a tattoo artist.
Post-Saniderm Tattoo Care
The use of Saniderm is becoming increasingly popular among tattoo artists and clients alike. However, it is important to understand the proper post-Saniderm tattoo care to ensure the best outcome for your tattoo.
Steps to Follow
- Leave the Saniderm bandage on for the recommended time frame, typically 24-48 hours.
- Once you remove the Saniderm bandage, wash the area thoroughly with warm water and mild, fragrance-free soap. Gently pat the area dry with a clean towel.
- Apply a thin layer of a fragrance-free, non-alcoholic lotion to keep the area hydrated. Avoid using any creams or ointments that contain petroleum or alcohol, as these can irritate the skin and delay healing.
- Repeat steps 2 and 3 2-3 times a day until the tattoo is fully healed.
- Avoid soaking the tattoo in water for at least 7-10 days after removal of the Saniderm bandage. This means avoiding pools, hot tubs, baths, and long showers.
- Avoid exposing the tattoo to direct sunlight for the first few weeks. If you must be in the sun, use a high-SPF sunscreen to protect the area.
- Avoid wearing tight clothing or anything that may rub against the tattoo for the first few weeks. Wear loose, comfortable clothing that won’t irritate the area.
- If you notice any signs of infection or redness, swelling, or itching that persist for more than a day, contact your tattoo artist or doctor for further advice.
It’s important to follow these post-Saniderm tattoo care instructions to ensure that your tattoo heals properly and remains vibrant for years to come.
Frequently Asked Questions
Can I remove the Saniderm too soon?
Yes, removing the Saniderm too soon can cause the tattoo to become infected and can also cause the ink to be removed, leading to a fading tattoo.
Can I shower with the Saniderm on?
Yes, you can shower with the Saniderm on, but avoid soaking the tattoo in water for too long.
What to do if the Saniderm starts to peel off?
If the Saniderm starts to peel off, it is best to remove it and replace it with a new piece.
Is it okay to wear tight clothing over the Saniderm?
It is best to avoid wearing tight clothing over the Saniderm as it can cause it to tear or peel off.
Can I use other creams or lotions with Saniderm?
It is best to avoid using other creams or lotions with Saniderm as it can cause the adhesive to loosen and the Saniderm to come off.
Wrapping Up
Have you discovered a solution to the question “how long to keep tattoo covered with saniderm?”
We hope you answered “yes” now that we’ve covered everything there is to know about the topic. Aftercare is critical for encouraging healing and keeping the tattoo vivid and well-defined for many years to come. You’ll be pleased with the outcomes if you’re patient and follow the regulations!
