How to Make a Sharpie Tattoo
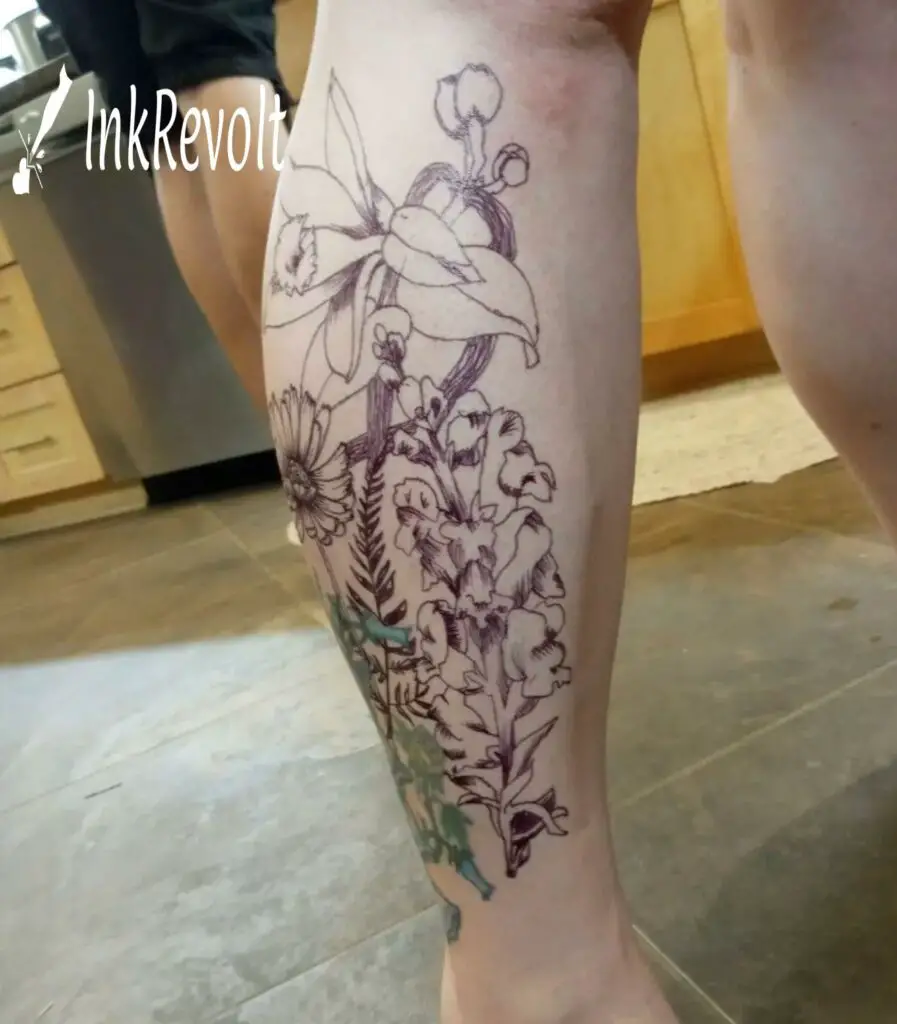
To make a sharpie tattoo, draw the design on clean, dry skin and trace over it with a sharpie marker. Avoid using this method for permanent tattoos as it can lead to health risks and long-term damage.
Sharpies are a popular option for people who want to create temporary tattoos at home. They’re inexpensive, easy to use, and come in a variety of colors. However, it’s important to note that using sharpies for permanent tattoos is not safe and can lead to health risks and long-term damage to the skin. If you’re interested in creating a temporary sharpie tattoo, there are a few key steps to follow to ensure the best possible results.
In this article, we’ll discuss the basics of sharpie tattoos, including how to choose a design, prepare your skin, and apply the marker for the best results.
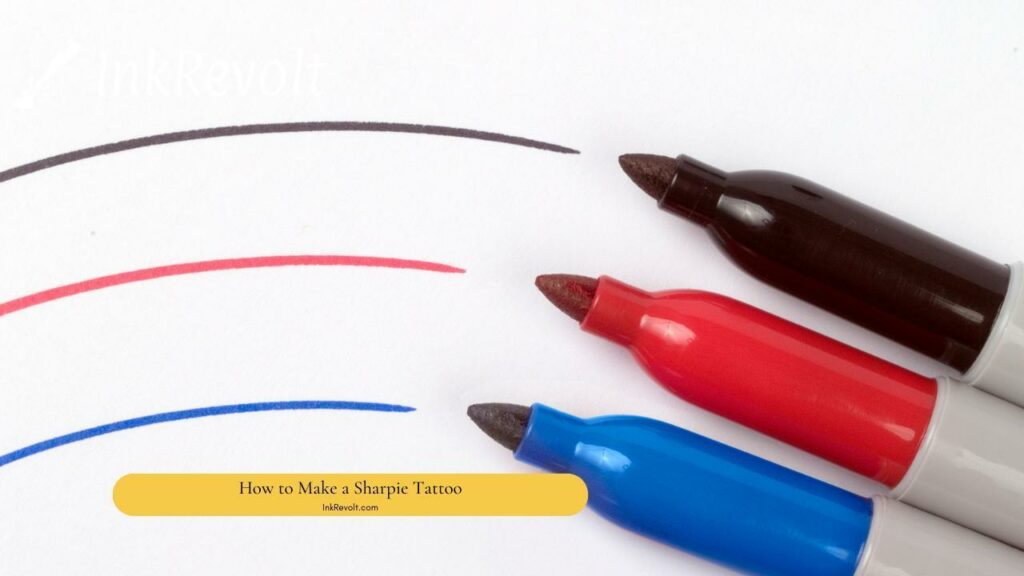
List Of Materials Needed To Make A Sharpie Tattoo
Creating a tattoo with a sharpie marker is an exciting and inexpensive way to get creative with body art. But before you start, you’ll need to gather a few materials.
1. Sharpie Markers
Of course, the first thing you’ll need is a sharpie marker. Choose a color that you like, as well as one that will complement your skin tone. Also, keep in mind that the color will likely fade over time, so you may want to choose a darker shade than you initially wanted.
2. Rubbing Alcohol
Rubbing alcohol is a crucial material in the creation of a sharpie tattoo. You’ll need it to clean the area where you’ll be drawing the tattoo to ensure that it’s free of dirt and oil. Be sure to let the area dry completely before starting.
3. Baby Powder
Baby powder may not seem like an essential item in creating a sharpie tattoo, but it can help prevent smudging. After you’ve finished drawing the tattoo, apply some baby powder over the top to help set the ink.
4. Hairspray
Hairspray is another item you may have never thought about using in tattooing, but it’s useful in helping to keep the sharpie ink in place. Spray a light mist of hairspray over the top of the tattoo, then wait a few minutes before touching the area.
5. Design Stencil
Though you could freehand your tattoo design, for best results, use a stencil. You can purchase pre-made stencils or create your own by printing out a design and tracing it onto transfer paper.
6. Transfer Paper
Transfer paper is essential when creating a stencil for your sharpie tattoo. You’ll print or draw your design onto the paper, then place it over the area where you’ll be applying the tattoo. The transfer paper will allow you to transfer the design onto your skin without worrying about freehanding it.
7. Cotton Balls Or Swabs
Lastly, you’ll need cotton balls or swabs to apply the rubbing alcohol and clean the area before drawing the tattoo. You may also need them to wipe away any excess ink or clean up mistakes.
Now that you have your materials ready, it’s time to start creating your sharpie tattoo. Have fun and let your creativity flow!
Preparation Before Creating The Sharpie Tattoo
Making a sharpie tattoo can be a fun and creative way to express yourself. However, before creating your design, it is essential to prepare the skin properly. Not only will this ensure the longevity of the tattoo, but it will also reduce the risk of infection. Here’s why proper preparation is key for making a sharpie tattoo.
Before applying a sharpie tattoo, it is crucial to have a clean canvas.
- It helps to remove any natural oils and greases that could make it difficult for the sharpie ink to adhere properly.
- Preparing the skin also helps to remove any dirt, sweat, or bacteria on the surface that could cause an infection.
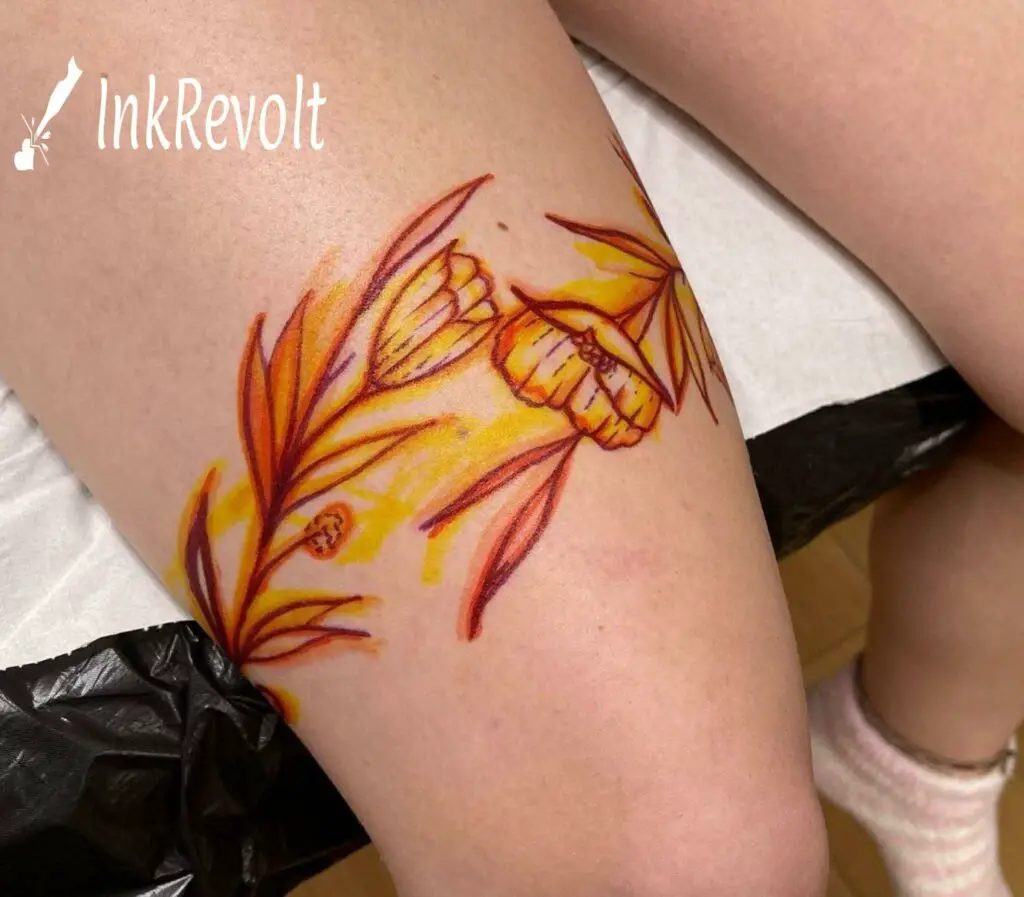
Steps To Properly Clean And Prepare The Skin
Now that you understand the importance of preparing your skin let’s take a closer look at the steps to properly clean and prepare your skin for creating a sharpie tattoo:
- Start by washing the area where you want to apply the sharpie tattoo with mild soap and water. This step will help remove any dirt, sweat, or bacteria on your skin. Do not use harsh soaps or chemicals as they could irritate your skin.
- Dry the area with a clean towel or let it air dry. Do not use any fabrics that could potentially leave lint on the skin.
- Next, take a cotton ball or pad, and dip it in rubbing alcohol. Rub it gently over the area where you want to apply the sharpie tattoo to disinfect it. Allow it to dry completely before proceeding.
- Apply a thin layer of petroleum jelly or other occlusive product over the area. A thin layer of moisturizer can also work if it does not contain any fragrance or harsh chemicals. This step will ensure that the ink adheres to the skin better.
With these simple steps, you can ensure that your skin is clean, disinfected, and properly prepared for your sharpie tattoo. Remember, the success of your tattoo will depend on how well you prepare your skin. So, take the time to follow these steps, and you’ll be able to enjoy your sharpie tattoo for a long time to come.
Creating The Tattoo: Step-by-Step Guide
Creating a sharpie tattoo is relatively simple, although some safety precautions should be taken to avoid any adverse reactions.
Now, let’s dive a bit deeper into each step and provide you with some tips for success.
Clean and prep the area:
- Use a gentle cleanser and cold water to clean the area where you plan on applying your sharpie tattoo. Wait until it dries completely before starting.
- If you are applying it to a sensitive area like the wrist, try using a numbing cream or ice pack to relieve pain or discomfort.
Draw the design:
- Start with a rough outline of the design, then add details gradually. Avoid making it too complicated, especially if it’s your first time.
- Apply the sharpie to dry and cool skin.
- If you make a mistake, you can easily correct it by applying rubbing alcohol on a cotton swab or tissue. Be sure to correct it quickly before the ink dries.
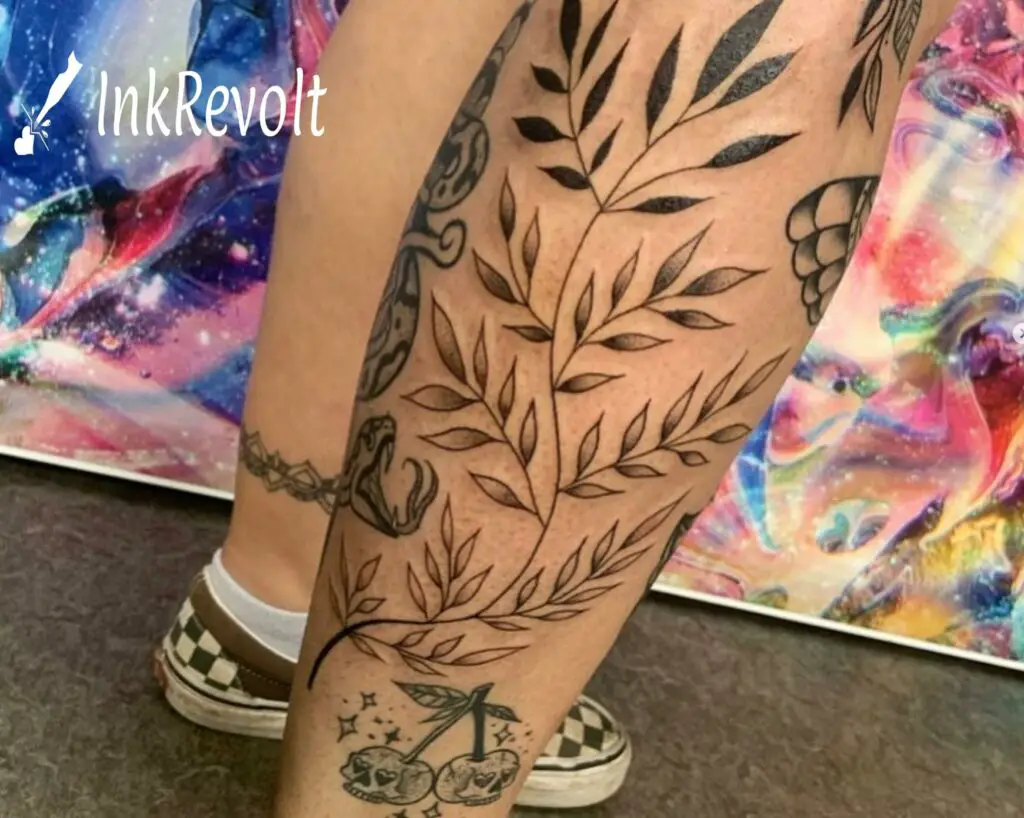
Avoid overworking the skin:
- Too much ink or pressure can lead to irritation or even blood poisoning. Avoid overworking the area and take breaks if necessary.
- If you have sensitive skin, test out the sharpie on a small patch of skin before applying it all over.
Apply baby powder:
- Dusting your tattoo with baby powder helps to set the ink and eliminates smudging or smearing.
- Use light and even layers to avoid caking up the powder.
Secure it with hairspray:
- A spray of hairspray helps to lock in the design and keeps it from smudging or fading too quickly.
- Make sure to use unscented hairspray as it is less likely to cause skin irritation.
Making Your Sharpie Tattoo Stand Out With Creative Designs And Color Blending
Creating a sharpie tattoo is not only about following the above steps.
- Using different colors: sharpies come in a variety of colors, so mix and match, creating a colorful and vibrant design.
- Adding details: you can incorporate polka dots, stripes, or other patterns into your design to add depth and detail.
- Adding symbols: symbols, quotes, or letters add a personal touch and create a deeper meaning behind the tattoo.
- Adding color blending: turn your sharpie tattoo to another level by blending two or more colors. Blend lighter colors first, then add darker ones gradually.
A sharpie tattoo is an excellent way to express your creativity and get temporary body art. With the above steps, you are ready to create your unique design and make it as detailed as you like. Always remember to take safety precautions, avoid overworking the skin, and have fun with your new sharpie tattoo!
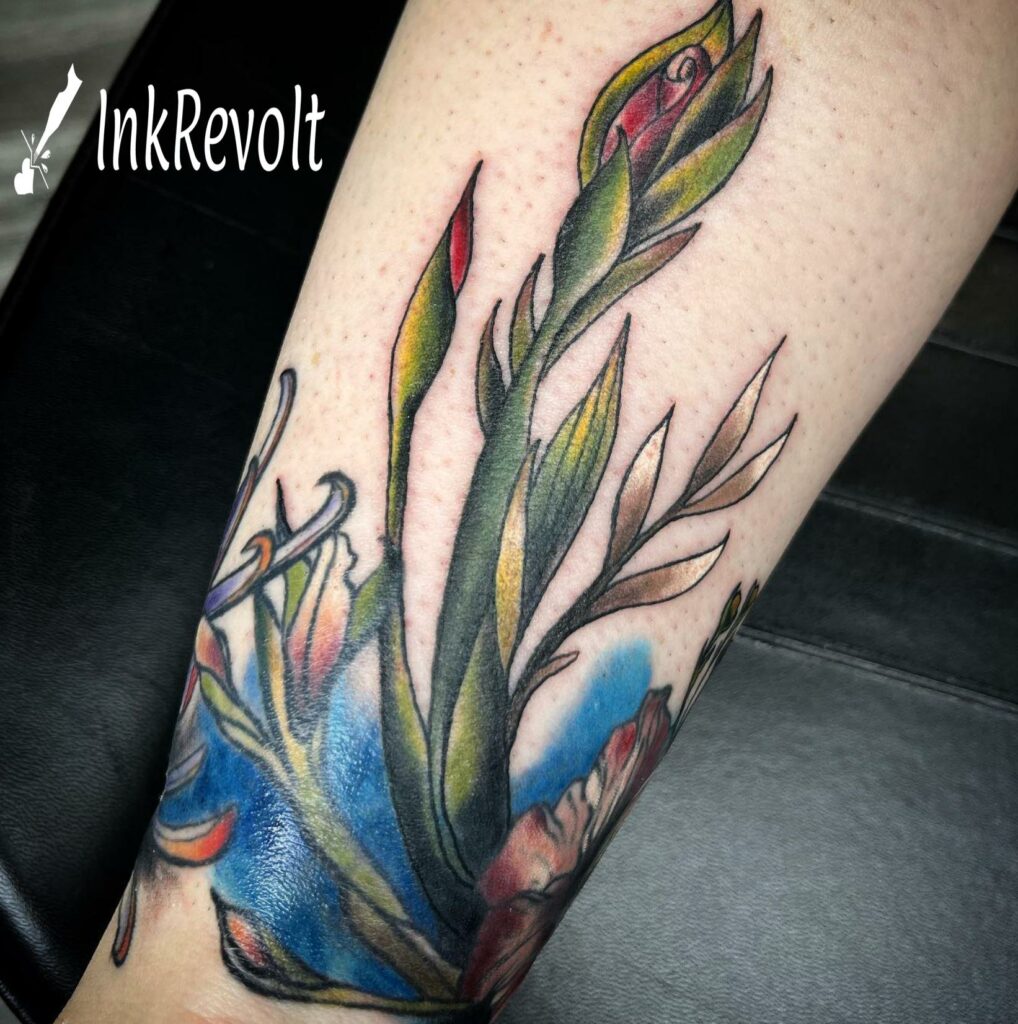
Aftercare of Your Sharpie Tattoo
Proper aftercare is necessary to ensure your sharpie tattoo lasts longer and to minimize the risk of irritations, infections or permanent scarring.
- Your skin needs time to heal, so avoid touching or scratching the tattoo.
- Keep the area clean and dry.
- Try not to take long showers or bath. Quick showers are ideal, and don’t scrub the skin.
- Protect the tattoo from sunlight, as it can fade the tattoo.
- Refrain from shaving or using any hair removal products that might touch the tattooed area.
Taking Care Of Your Sharpie Tattoo: Dos And Don’Ts
To make your sharpie tattoo last longer and to keep it looking fresh, here are some tips:
Dos
- Wash the tattoo with gentle soap and water. Use a damp cloth to clean the area thoroughly.
- Use a moisturizer or cream to help keep the area moisturized and prevent it from drying.
- Cover the tattoo with a bandage or clothing to prevent any irritation due to friction or clothes rubbing on the tattoo.
Don’Ts
- Don’t use alcohol or hydrogen peroxide to clean the tattoo. It can dry the skin and affect the color.
- Don’t expose the tattoo to pools and hot tubs. The chemicals in the water can damage the tattoo.
- Don’t scratch or pick at the tattoo. Allow it to heal naturally, as scratching can lead to infection.
Taking care of your sharpie tattoo is crucial to ensure its longevity. Proper aftercare will help keep the tattoo looking sharp and reduce the risk of infections or discomfort. Stick to the simple guidelines presented in this article, and you will have a lasting and vibrant sharpie tattoo.
Conclusion
Creating a sharpie tattoo can be an enjoyable and unique way to showcase your creative side. However, it is necessary always to keep safety in mind when doing it. Remember to clean the area to be tattooed before beginning, use new sharpies, and always test the ink on a small area of skin before going in for a full tattoo. Furthermore, when it comes to tattooing yourself or someone else, be sure to take your time to ensure the best possible outcome. While sharpie tattoos are a temporary alternative to traditional tattoos, they can be just as meaningful and perfect for special events or occasions. With practice, patience, and attention, you can master the art of creating a sharpie tattoo and have fun expressing yourself or your art on the skin.
Frequently Asked Questions
-
Is It Safe To Make A Sharpie Tattoo?
No, it’s not completely safe as sharpie ink contains chemicals that can damage skin and cause allergic reactions.
-
What Materials Do I Need To Make A Sharpie Tattoo?
All you need are a sharpie marker, stencil, rubbing alcohol, cotton ball and baby powder.
-
How Long Does A Sharpie Tattoo Last?
A sharpie tattoo can last for several days, depending on the quality of the ink and after-care.
-
How Can I Remove A Sharpie Tattoo?
To remove a sharpie tattoo, use rubbing alcohol, baby oil, or baking soda mixed with water to scrub excess ink off.
