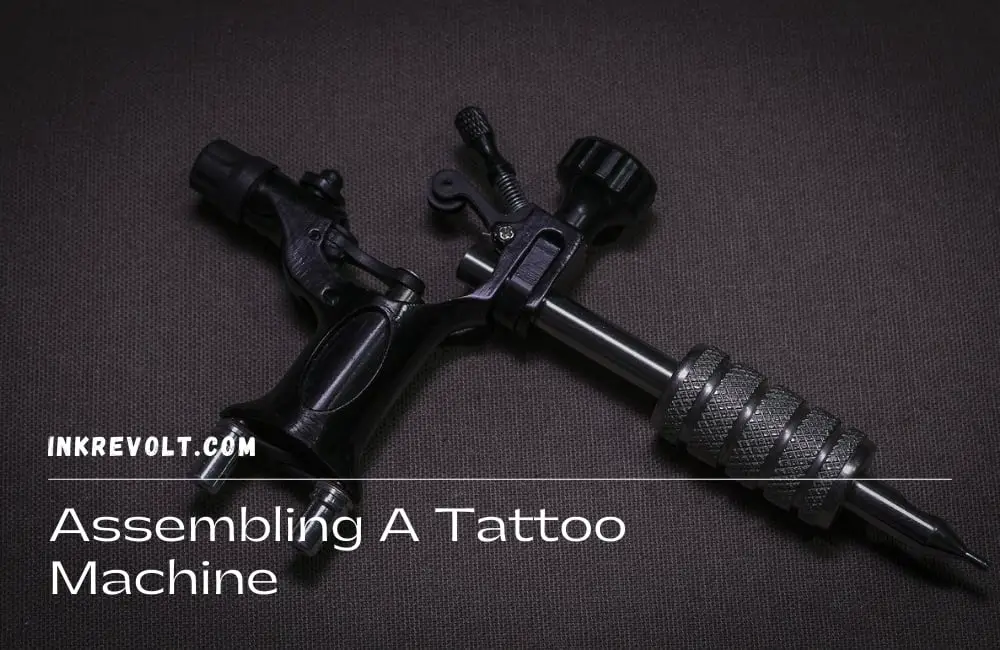
How To Put A Tattoo Machine Together?
If you are setting up a new tattoo shop or want to start tattooing as a hobby, then it is absolutely necessary for you to know about the process of putting together a tattoo machine. Assembling a tattoo machine can be quite troublesome for beginners.
To put together a tattoo machine, you need to attach the tattoo tip with the barrel by properly tightening the Allen screw situated on the barrel. After that, take your tattoo needle and carefully feed it through the tattoo barrel. Then, attach the barrel with the tattoo machine frame. Connect the machine with the power supply and power it up.
You need to follow certain steps and apply specific tricks for properly installing a tattoo machine. In this article, I will discuss in detail the steps by following which you can successfully put together a tattoo machine. I will also share some important tips and tricks as well as the working mechanism of a tattoo machine.
How A Tattoo Machine Works?
A tattoo machine works just like a sewing machine. A sharp needle penetrates the skin and creates the desired tattoo design. The electromagnetic coil inside the machine turns on and off in rapid succession causing the spring-loaded armature bar to move up and down. The up and down motion of the armature bar taps the tattoo needle and helps it to penetrate the skin.
Necessary Steps To Properly Assemble The Tattoo Machine
Putting together a tattoo machine is not a very hard task if you follow the correct steps. The steps mentioned below will aid you towards an easy and successful installation of your machine.
Step 1: Know About The Parts Of The Machine
Before assembling a tattoo machine, you need to familiarize yourself with the different parts that the machine contains. Adequate knowledge about the construction of the machine will help you to easily assemble it.
A tattoo machine can generally be divided into seven parts. The tattoo barrel, tattoo tip, tattoo needle, machine frame, and power supply are five basic parts. Other parts of a tattoo machine are the nipple and the rubber band. A tattoo machine can be used if and only if you have correctly assembled all these parts.
Step 2: Sanitize Everything
Unsterile tattoo machine and their parts can pose serious health hazards to the customers. Maintaining proper sanitization and hygiene is crucial for a tattoo artist as a tattoo machine penetrates deep into the human skin. Before assembling the tattoo machine, make sure to wear latex gloves. Also do not forget to sterilize the tattoo needles before tattooing.
Step 3: Assemble The Tattoo Machine
You will need the following parts for properly assembling a tattoo machine.
- The Tattoo Tip
- The Tattoo Needle
- The Barrel
- The Rubber Nipple and
- The Rubberband
Start by attaching the tattoo tip with the tattoo barrel. You will find an opening on the barrel for attaching a tattoo tip with it. Insert the tattoo tip into the barrel and secure it in place by fastening the Allen screw. You may also find a normal Philips head screw instead of an Allen screw on the barrel.

After that, take the barrel and insert it into the opening of the tattoo machine. Secure the barrel into the machine by rotating the “T” shaped handle situated on top of the tattoo machine. Rotate the handle counterclockwise for fastening the barrel in place. Apply light pressure on the barrel to make sure that it does not move around and you have a tight and solid fit.
Now, take the rubber nipple and place it on the pin of the armature bar. Carefully slide the tattoo needle through the back of the barrel such that, the rear ring of the tattoo needle slides onto the rubber nipple. Make sure not to hit the inner walls of the barrel while inserting the needle into the barrel.
Lastly, take a rubber band and wrap it around the tattoo needle and the machine. This will exert pressure on the needle and prevent it from popping off the armature bar while using the machine. Do not apply too much pressure as it may yield excessive strain on the needle.
Step 4: Choose And Set Up The Power Supply
The power supply is the main source of power for your tattoo machine. You need to choose the correct power supply because using a noncompatible power supply can easily damage the machine. Most of the tattoo machine comes with a power supply if you buy them in a bundle.
If your tattoo machine didn’t come with a power supply then buy a power supply that is compatible with the machine. Different tattoo machines have different power requirements for their smooth operation. That is why match the specification of the tattoo machine with the power supply before using it.
Buy a power supply that has a display so that you can accurately adjust the power settings. Also, ensure that your power supply supports voltage adjustment because you may need to adjust the voltage of the power supply depending on the machine that you use. You will also need a footswitch and a clip cord.
Step 5: Connect The Parts
Connect the power supply with a wall outlet. You will find a circular hole on the power supply for attaching a clip cord. Attach the footswitch with the power supply by plugging in the clip cord. The footswitch will help you to control the power supplied by the power supply to the tattoo machine.
Now, it is time to connect the tattoo machine with the power supply. Connect the two input wires from the footswitch to the back of the power terminals of the tattoo machine. Be careful while working with live current.
After properly connecting everything, turn on the power supply and step onto the footswitch. The tattoo machine should start working at this point. If you have no power to the machine, thoroughly check all the connections.
Additional Read: How To Tune A Tattoo Machine
Tattoo Machine Setup Tips And Tricks
There are many interesting tips and tricks about tattoo machines. Following these tricks will help you to save a lot of time and resources. Some important tips and tricks are:
1. Bend The Tattoo Needle
Before sliding the tattoo needle through the barrel, slightly bend it downwards. The slight bend will help you to accurately adjust the needle. It will also help to keep the needle stable while tattooing.
2. Use Disposable Needles And Barrels
As the name suggests, disposable needles and barrels can only be used once. They can save you a lot of time as you do not need to sterilize the components. Moreover, they come with a pre-attached needle, needle tip, and barrel assembly. As a result, you can easily attach them to the tattoo machine.
3. Do Not Use Cheap Power Supply
Many beginner tattoo artists make the mistake of using a cheap power supply. Usually, cheap power supplies do not have an over-current protection feature which makes them vulnerable to current spikes. Current spikes can instantly kill your tattoo machine. So, in order to avoid such unfortunate accidents, use a good quality over-current protected power supply.
Additional Resource:
You Are Ready For Tattooing
Hopefully, you will be able to properly put together a tattoo machine from now on. For any additional queries, do not hesitate to hit the comment box below!