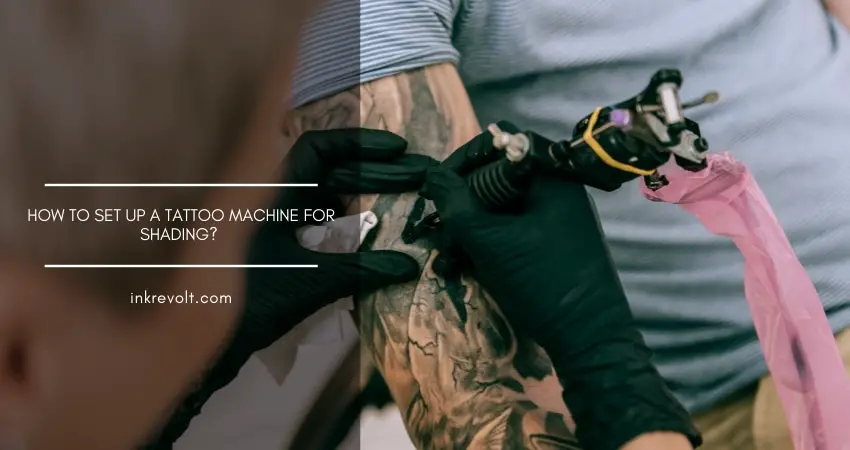
How To Set Up A Tattoo Machine For Shading? [3 Easy Steps]
Umm… I don’t think a tattoo professional will check this article out, but I hope they do not chuckle seeing the title, even if any of them does. Setting up a shader machine is not rocket science at all. But it may be so to some who have just started tattooing and have no idea how to set up a tattoo machine for shading.
Setting up a shader is easy. First, you set a distance between the contact screw and the armature bar. Second, you attach the needle tube. And then you reset the tattoo machine’s speed. And all you would need for that is a tattoo machine, a shader tube, a nickel, a shader needle, and a magnifying glass.
“That cannot be just it. There has to be more!” Yes, you are right. But there is not much. It is really simple. Just give it a read, and you will get it right away.
How To Set Up A Tattoo Gun For Shading In Three Easy Steps

Step 1: Setting Up The Distance
You have to set a distance between the contact screw and the armature first. The gap should not be more than 2mm. It should be as thick as an American nickel.
Step 2: Attaching The Needle Tube
Now you have to attach the needle tube that is appropriate for making shades. First, get a needle bar that matches and insert it into the tube to secure it. After that, use a magnifier to examine the tip. Finally, adjust the rubber band and the needle tube.
Step 3: Resetting The Speed
In the last step, you need to reset the machine’s speed for shading. Shading needs a slightly slower pace than lining. Make the adjustments carefully. The buzzing sound will be deeper than that of line work.
Care For A Tip?
Before you start handling sterile equipment, wear nitrile or latex gloves. Tattoo needles, needle tubes, grips, and bars must be surgically sterile before the process begins. Or you can sterilize the materials using an autoclave. You can also purchase the sealed ones in sterile packages.
Warnings
Do not ever use needles, inks, or equipment that are not completely sterile or contaminant-free.
Most tattoos stay on your skin permanently. So take the time and care to learn the proper ways of tattooing. Otherwise, you might have to pay for a mistake all your life.
Many diseases are transmitted by unhygienic tattoo equipment through blood. Therefore, a tattoo artist must know to prevent them before doing any modification on anyone’s body.
Frequently Asked Questions
What Is The Voltage Range For A Shader Tattoo Machine?
The voltage settings depend on the tattooing styles of tattoo artists, their tastes, and tattoo machines.
One should take some time with their machine to figure out the correct voltage range for their tattoo machine. Most tattoo artists typically use 8v to 10v to make shades. However, you can start with 8v or 9v or lower than that if you find that suitable.
Which Tattoo Needle Should I Use For My Shading Machine?
You should use Round Shader (RS) needles for shading. The flat ones are for designs containing geometric shades and shapes, while the weaved magnums make shades, blend, and color large areas.
Can I Make Shades With A Liner Machine?
You can use a round liner needle in your shading machine for effect. Make sure not to do so with a color packing machine that hits hard. Or you can use a liner with soft six wrapped coils for using the small settings. You can make shades with a liner tattoo machine in a traditional way. But the shades won’t be soft.
Can I Use Shading Needles For Making Lines?
Yes, you can. If the needles turn out alright and you get good results from them, why not? Go with what is suitable for you.
Final Words
See? Wasn’t that easy? You need very few materials and some tiny steps to learn how to set up a tattoo machine for shading. Just always remember to use properly and entirely sterilized accessories.
Thanks for reading. Good luck setting up a shader tattoo machine!
