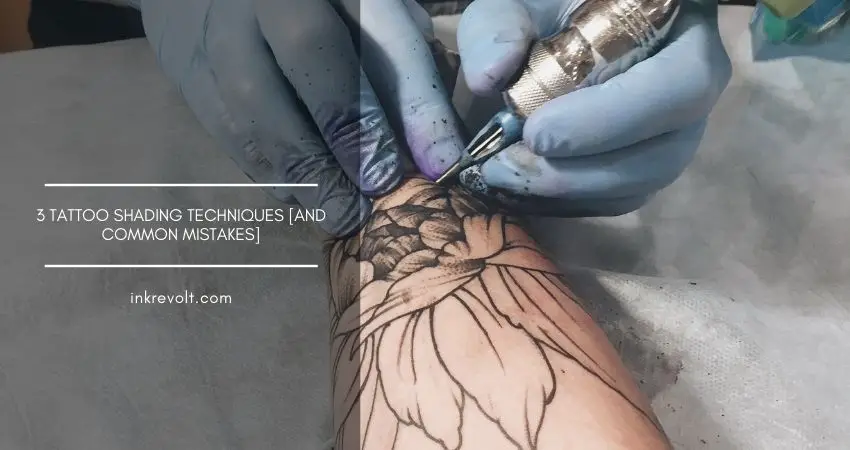
3 Tattoo Shading Techniques [And Common Mistakes]
Tattooing is more popular now than ever. With its increasing popularity, people’s demands and standards have become higher. So, if you are a tattoo artist (maybe a beginner, apprentice, or a professional), and your shades look choppy or heal patchily, it is a signal that you have to change your techniques if you want to thrive in the game.
There are three prime tattoo shading techniques. They are whip shading, pendulum shading, and packing. Three of them differ from each other in terms of what they do, how you make them do it, and why that works.
Apart from these, there will be more discussions and suggestions on relevant topics. Don’t stop reading!
3 Common Tattoo Shading Techniques
1. Whip Shading (Not For Beginners)
To do whip shading, you have to touch your needle into your skin. Then, dragging it across, flick the device gently away from your skin.
The needle will go deeper when hit first. When you do the flicking, it will not be as deep. That will make the ink appear lighter when the needle moves out. And the result will be dark marks on your skin made by milder ingredients.
Flat shaders are the best needles for whip shading. They can hold lots of ink in and deliver them neatly, which is perfect for shading. They also require fewer passes, meaning they will not cause much trauma to your skin.
Note!
When you move the needle, ensure that you come down straight with your tattoo device. That is because if you are at some angle and quickly shift to a new one to whip your needle back, there will be skin damage.
Read More: Tattoo Sleeve Shading Filler
2. Pendulum Shading
Pendulum shading does pretty much the same thing as whip shading, but it leaves you with dark marks on both sides.
When you swing the needle around, move it down and up across the center in the same motion. Then it will go into and out of your skin gradually when you use less, more, and less ink by turn. As the final outcome, you will get smoothened out feathered edges.
You can use magnum needles to make pendulum shades. They work best when used for covering larger spaces.
Note!
Pick a needle that will create pendulum shades to make slight overlaps to ensure there is no empty and patchy space (which is why you should go for the mags).
3. Packing
When you need solid fills for your tattoo design, you do packing. To apply this shading technique in your tattoos, you have to move your needle in oval motions. Keep it tight while you are at it. See to it that the needle pressure is even and sufficient for all sides.
The benefit of moving the needle in that motion is that it will cover more surfaces by preventing gaps from showing up in the shades. You should use larger magnum shaders for this purpose, too.
Note!
Lower your pace of work and machine speed during this segment. Give it some time to pack the tattoo ink into your skin.
Tip!
When you shade a tattoo, do not change the area quickly. I mean, do not start hopping around. Instead, maintain a flow and expand the shades continually on the surface until the packing is complete.
Common Shading Mistakes
So, these were the tattoo shading techniques. Let’s move on to discussing the common mistakes you might make while applying them.
1. Using The Wrong Needle Type, Stroke, Or Diameter
Doing anything named above will negatively impact your shades’ smoothness and healing. So, here is a little of something to guide you about this stuff.
Needle Type
- Use M2 stack magnum needles for tribal designs and black packing. They are tight and make sharp lines.
- If you need needles for soft portraits, M1C curved magnums would be perfect. They will give you soft shades. There will be no hard lines on the edges.
- For fine details to do the brows, nostrils, lashes, and eyes, go with 3RL thin liners.
Stroke
- For short strokes, keep it between 1.8mm and 2.5mm. Make gray and black layers. It will allow multiple passes with no chewing out your skin.
- If it is a medium stroke, the range is between 3.0mm and 3.8mm. Keep the packing solid black.
- Note: If it is 3.5mm, and you have only a single tattoo device, you can pack and shade in ink.
Diameter
- For a diameter of 0.25mm – 0.30mm to apply to soft portrait designs, pick bug pins (#08 and #10). They are easy on your skin when they build the layers.
- When it comes to a larger space where you need more coverage to do solid blackwork, get yourself some standards (0.35mm, #12).
2. Tattoo Not Sufficiently Dark
Gray and black shades become up to 30% lighter after healing completely. That is more applicable when the tattoo is on areas like the inner bicep, ribs, etc.
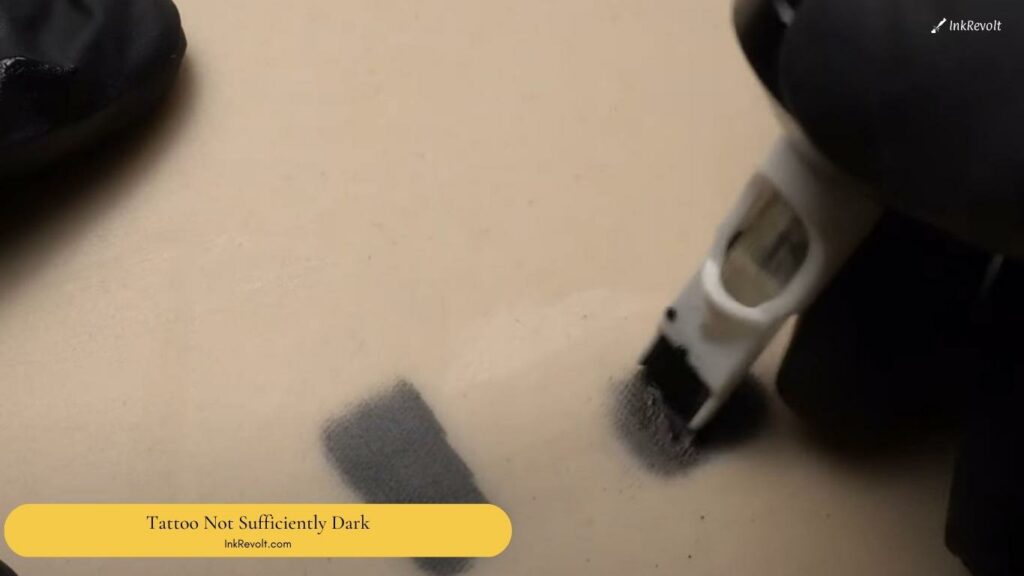
When you do the tattoo, your blood will seep through your skin. So that will make the shades look darker than they actually are, leading the tattoo artist to use less ink. As a result, the tattoo will fade faster than it would have if the artist had used more ink.
3. Uneven Or Patchy Tattoo Healing
Here are some problems with healing that tattooists mostly face. They occur because of subtle changes in your tattoo shading techniques. Have a look at them.
- Empty spaces between your circles are responsible for patchy tattoo healing. It happens when the circles are very large. So, when you work on them, keep them tiny and tight.
- Quick movements of the needles in circular motions will damage the healing. Keep it slow while packing the ink.
- If you do not angle your mags properly, the needle barbs slick your skin like razor blades, giving you overworked skin with an uneven tattoo. Now, that is clearly not on your wish list.
Final Words
Everything about tattooing is art. And there is no end to learning more about it. So, when you take these suggestions to enhance your skills, you will be sure to add more value to your customers’ demands and visions. It is needless to explain how that will scale up your reputation.
The solution to making a proper tattoo with ideal healing is following the tattoo shading techniques as perfectly as you can. Since the techniques are hopefully clear to you, you can relearn them. Also, this time, notice the areas of the mistakes to prevent them from turning up.
Thanks a lot for reading. Good luck!