How To Do A Stick And Poke Tattoo? [Foolproof Guide]
A “stick and poke” tattoo is a method of tattooing where you use your hands and a needle to tattoo your skin. This method does not involve any machines, and many people do these tattoos by themselves. And some people also choose to have it done by professionals. No matter if you do it at home or outside, the technique of this method is what draws people in.
So how to do a stick and poke tattoo? As mentioned before, the stick and poke can be done by yourself, but it is better to be done by a professional. However, you can still pull it off if you follow some simple steps.
The basic steps of a stick and poke tattoo are preparing and buying the necessary items like needles, ink, rubbing alcohol, cotton buds, etc. Then prepare the instruments and skin for the tattoo. After you draw the outline, you can proceed to complete the tattoo.
Now let’s have a detailed discussion on the steps of how to do a stick and poke tattoo and all the precautions that need to be followed:
How To Do A Stick And Poke Tattoo By Yourself?
Doing a stick and poke tattoo by yourself is a common practice in the stick and poke community. But that doesn’t mean such a common practice does not see bad results. Many people become infected because they don’t follow all the procedures correctly.
So here are the steps to doing a stick and poke tattoo by yourself in a safe and non-messy manner:
1. Buying The Ink And Needles
Needles and ink are the two components that are the most important parts of the stick and poke method. You should use needles that have never been used before. The one and only kind of ink that should be used is tattoo ink, which isn’t always the easiest to find.
You can use “India” ink, which is frequently used for calligraphy but is safe for tattoos. But never use ink from any pen or marker. The safest alternative is to use a home tattooing kit, which is affordable and includes both ingredients and directions.
- To ensure that your tattoo ink is free of harmful components, look for a reputed brand.
- Use sterile needles that are made for tattooing. Embroidery needles, sharp pins, and safety pins should not be used. Even though they are brand new, they aren’t sterile.
Using any of the tools that are not specifically made for tattooing is very risky. It’s possible that you’ll wind up in the hospital due to infections. They also don’t carry ink well enough to help you draw the pattern.
2. Get Your Extra Tools
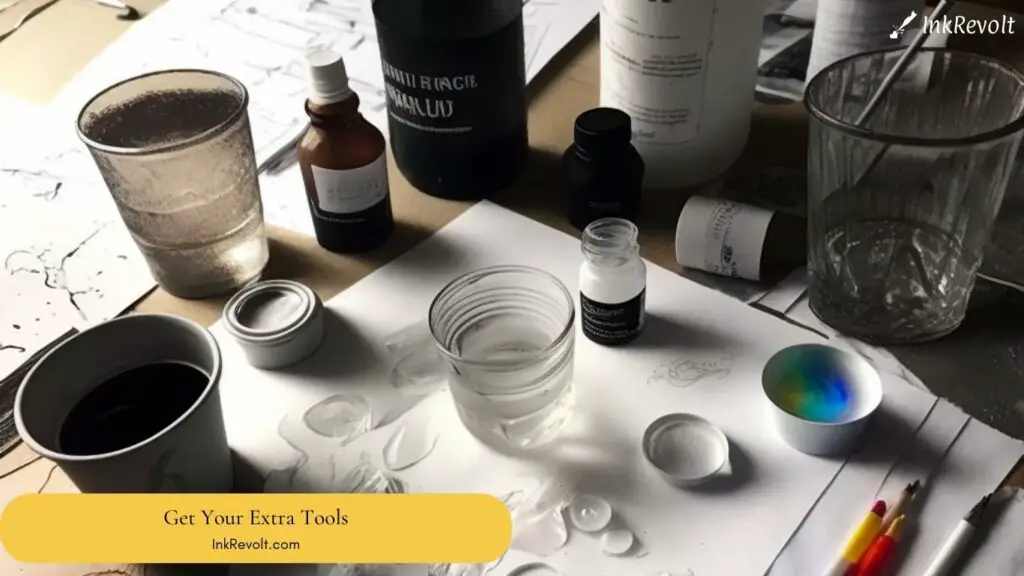
Before you start piercing the flesh with a needle, you’ll need to get a few additional things for the whole tattooing process. You will need:
- Some cotton pads and thread.
- Rubbing alcohol or hydrogen peroxide
- A cup of water
- A marker to draw the tattoo outline. Take a non-permanent marker. You don’t want to have to rub out the excess of your newly tattooed sore skin. Also, make sure it is non-toxic.
- To put it out of the bottle and take the ink, have ink caps, a cup, or any saucer on hand. You can buy ink caps as they are cheap and can save you money by preventing ink waste.
- To sterilize, you’ll also need rubbing alcohol or a 91-99 percent solution of alcohol or hydrogen peroxide.
3. Get Your Skin Ready
You should clean the areas of your skin that you will tattoo with good soap and lukewarm water. If you have hair in that area, shave off roughly an inch or so of the hair.
After shaving, you need to use rubbing alcohol or sanitizer to sanitize your skin. So, before you begin tattooing, soak a cotton ball in rubbing alcohol and dab the intended area with it.
4. Draw The Outline Of The Tattoo
Use a marker to outline the design, on where you want your tattoo to be. Just tracing or drawing where you want the tattoo to be will help you avoid a lot of hassle. If you prefer, the first outline can be drawn by anyone else. Anyway, take your time doing this because this is going to show you direction.
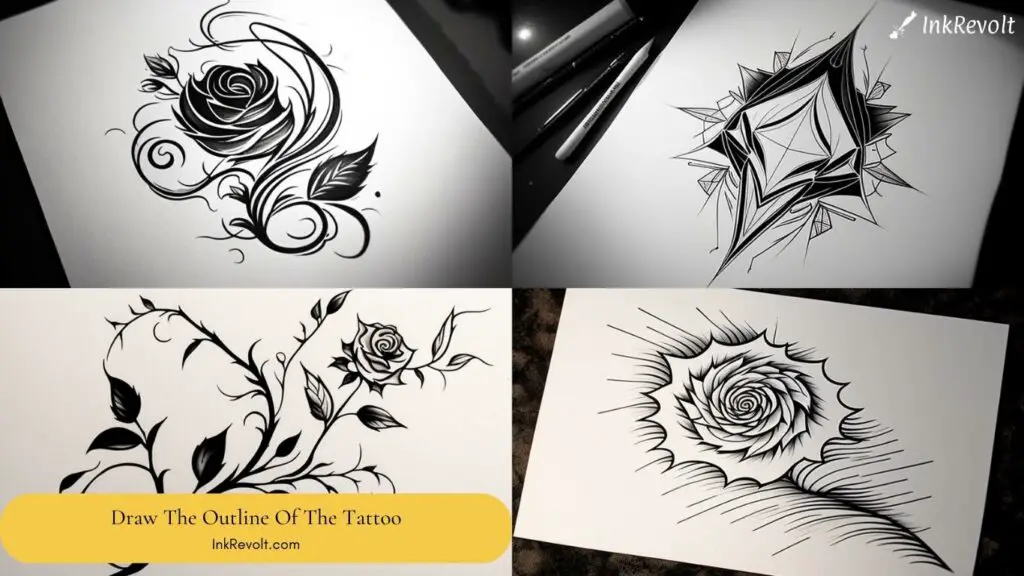
For getting a more precise tattoo, you can buy or print your customized stencil and the required stencil gel. And if you do all the work of tattooing on your own, ensure the area you want to tattoo is accessible. For several hours, you’ll be probing. Don’t use the stick and poke method on yourself in awkward or difficult-to-reach areas of the body, like your chest or shoulders.
Note: While drawing the outline, remember that this method works best on small and simple tattoos. If you want something complicated, you will need to go to an artist.
5. Prepare The Needle
To prepare the needle, you have to sterilize it and make it easier to handle. Both of these steps are mandatory before you start tattooing.
Sterilizing
The most effective approach to disinfecting a needle is to use a flame. and you should do it before using it. You just need to hold your needle over a burning candle or the lighter flame until it glows blazing red. You need to use tongs to grip the other end of the needle, otherwise, you are sure to burn your fingers.
Prepping
Once the needle has been sterilized, wrap it with a wrapper or cotton. Start from 1/8th away from the tip, and keep wrapping the cotton thread back and forth all the way to the end until the cotton thread takes an oval shape, and it will be easier to handle for you. And as you dip this needle into the ink, some of the excess ink will be absorbed and detain the overflow of ink.
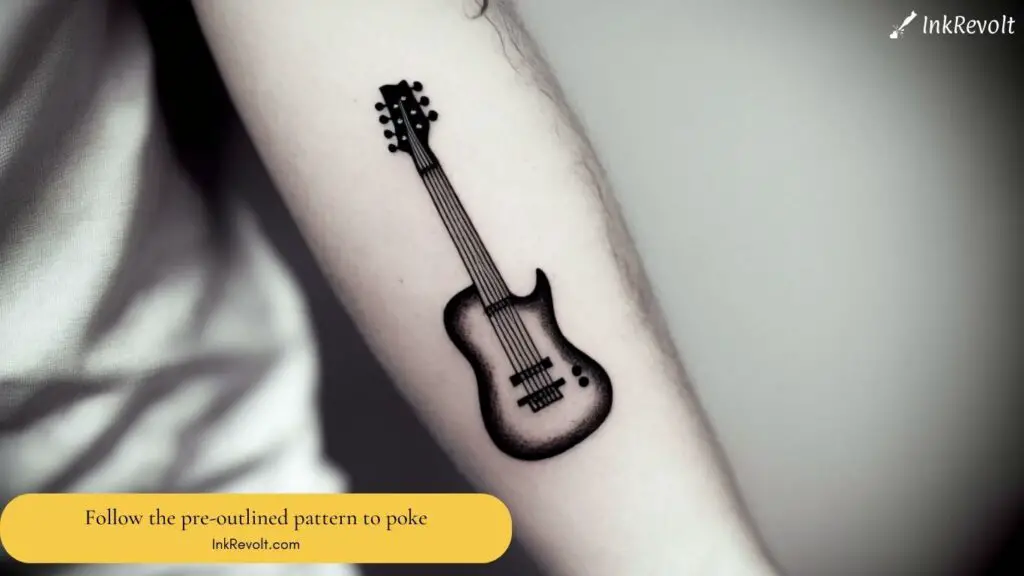
6. Start Tattooing
Now for the most important part, you will start creating the tattoo. This part will need extreme caution and patience. What you need to do is:
- First, dip your prepared needle into your ink and pierce a little dot into the skin.
- Then begin by inserting the needle into your skin gently and carefully. Then the ink will be deposited into the skin’s layer. It’s important to keep in mind that you’re not attempting to get all the way through your skin. Your goal is to simply take it into the skin.
- Start with a mild poke and see how much of the ink remains on the skin when you wipe it away. When you pull that needle out, you should feel a tiny tug.
- Follow the pre-outlined pattern to poke. After multiple levels of poking, you might see some blood, but not much. Keep going until you finish your tattoo.
- Ink will eventually obliterate the skin and the stencil line. Make sure you clean these away with a sterile cloth or a clean paper towel.
- To the limit of pain and skin irritation, your body allows you to complete your intended tattoo.
Keep in mind that you may always wait for it to heal before going back and filling in all the gaps and making the corrections. It’s extremely common for the ink to ooze out of the skin accidentally, which will need a subsequent amount of tattoo-touch-up.
Note: It’s a must to double-check the depth when you are poking. Although it is inevitable for you to bleed, it can only shed a few droplets. If you see dripping or excessive blood, stop the poking and sanitize the area. To stop the bleeding, gently but firmly press a paper towel over the spot.
7. Clean The Tattoo
Make sure the tattooed area is clean and tidy. Thoroughly clean the tattooed area with good soap and water once you are finished. Remove any residual ink and discard the needles as they’ve lost their sterility. And if you are planning to do any touch-ups to your tattoo later, start with a new needle and take new ink to use. Instead of using alcohol to clean the new tattoo, use soapy water.
8. Clean After You Are Done
It is essential to clean all the tools thoroughly and hygienically after you are done using them. Because human blood on the needle will be exceedingly harmful both to you and to someone else.
For safety measures and to ensure that you or someone else doesn’t get hurt, place your needle in the sharps box or a container with a firm cover. Ensure to collect all the materials and name them “HAZARDOUS WASTE.”
Hands should be washed with hot soapy water after cleaning your work area with diluted bleach. Blood-borne viruses such as HIV and Hepatitis C are actual killers that can be easily conveyed by an unintentional needle stick.
Additional Read: Stick n Poke Tattoo Aftercare
Safety Measures While Doing A Stick And Poke Tattoo
Safety is your first priority when doing these tattoos. You need to be extra careful if you are doing it all by yourself. So keep in mind the following suggestions and remember that you will put yourself at great danger of infection if you do any of these things:
- You must use everything free of contaminants. Any cups or plates you use should be washed with hot water and soap and then covered.
- Put on gloves that have been thoroughly sterilized for added protection.
- To be safe, you should wash your gloves and hands in between.
- Never use needles that are more than a few years old.
- Also, these needles should not be shared. You put yourself in great danger of infection if you do any of these.
- Once you’re finished, make sure to properly discard all the used needles.
Why Is It Better To Get A Stick And Poke Tattoo By A Professional?
The most difficult component of the stick and poke method is getting the needle precisely deep enough into your skin to allow the ink to settle. You’ll have an eruption if the needle is too deep, which will cause all the lines to blend together and mess up the design. And the ink will not stick if it is not buried deeply enough.
So if you do it at home, there is a chance that you will make either of these two mistakes. That’s why it is better to get your stick and poke tattoo done by a professional.
Wrapping Up
If you didn’t know how to do a stick and poke tattoo, but you wanted to get one by yourself, now you can do it. Remember, just picking up a needle and starting poking in any direction will lead you to nowhere.
Getting a tattoo can come from various motivations, but making your skin look ugly can’t be one of them. Prepare yourself, your skin, your space, your tools, and gradually get started.
Take your time to draw the pattern beforehand and then poke the ink into your skin. Look out for the amount of blood drooping, irritation, and any other discomfort. Don’t try it all at once, as you have to go back a few times to get the whole look done.
And after you are done, don’t forget to clean yourself and the space behind you. These tiny steps of caution and time will save you from a lot of unseen miseries.