How to Make a Fake Tattoo Look Real
In the ever-changing landscape of self-expression, temporary tattoos have taken center stage as a fun, commitment-free way to adorn your body with unique and captivating designs. However, the key to pulling off these temporary works of art lies in their ability to appear as authentic as their permanent counterparts.
In this comprehensive guide, we’ll walk you through the various types of fake tattoos, share insider tips and tricks for achieving a realistic look, and explore the art of making your temporary ink so convincing that even the most discerning eye might be fooled. Types of Fake Tattoos
So let’s dive into the world of faux body art and discover the secrets behind making a fake tattoo look undeniably real.
Types of Fake Tattoos
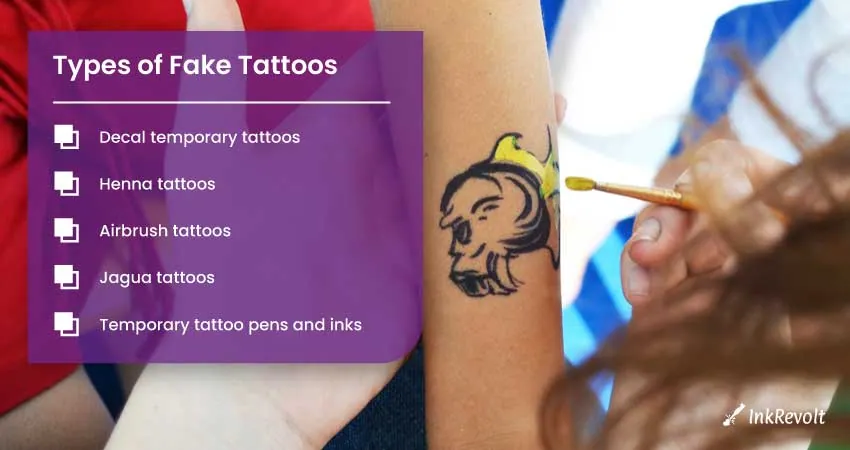
When it comes to temporary tattoos, variety is the name of the game. Whether you’re aiming for a subtle, minimalist design or a bold, eye-catching masterpiece, there’s a fake tattoo method out there for you.
Decal temporary tattoos
These tattoos are the trusty old-school option that we all know and love. Printed on paper, these designs range from simple line art to intricate, full-color images. But beware, while they might remind you of your childhood, you’ll want to up your application game for a more realistic look.
Henna tattoos
Henna tattoos have been around for centuries, with roots in Indian and Moroccan cultures. Made from a plant-based dye, these temporary tattoos stain the skin in a reddish-brown hue, creating intricate designs that can last up to a couple of weeks. Just remember, patience is key, as henna designs require some time to set and dry.
Airbrush tattoos
If you’re looking for a more professional touch, airbrush tattoos might be your best bet. This technique involves using a spray gun to apply ink onto the skin, resulting in detailed, customizable designs that can last up to a week. Though it might be tempting to try this at home, it’s probably best to leave it to the pros—unless you want to end up looking like an abstract art experiment gone wrong.
Jagua tattoos
Jagua tattoos are another natural, plant-based option, creating a bluish-black stain on the skin. Similar to henna, jagua tattoos can last up to two weeks and are perfect for those who want a more authentic “inked” appearance. Just be prepared to practice your art skills, as this method often requires freehand application.
Temporary tattoo pens and inks
For the DIY enthusiasts out there, temporary tattoo pens and inks offer a fun way to create your own custom designs. These pens use ink specifically designed for temporary tattoos, allowing you to draw directly on your skin. Just make sure to channel your inner artist—no one wants a wobbly stick figure masquerading as a tattoo!
Read Also: How To Spot Fake Tattoo Ink?
Choosing the Right Design

Picking the perfect design is key to achieving a realistic-looking fake tattoo. To avoid raising eyebrows or becoming the butt of a joke, consider the following factors when choosing your temporary masterpiece:
Inspiration from real tattoos
Browse through images of real tattoos to get a sense of what works well on the skin. Take note of details, shading, and color schemes to help inform your design choice. After all, imitation is the sincerest form of flattery!
Selecting a design that suits your style
Remember, your fake tattoo should reflect your personality and style. Choose a design that you genuinely like and feel comfortable wearing. If you’re a minimalist at heart, don’t force yourself into a bold, colorful design just because it’s trendy.
Considerations for placement and size
The location of your fake tattoo can greatly impact its believability. Choose a spot that complements the design and is easily accessible for application. Additionally, consider the size of your design—too small, and it might look like a sticker; too large, and it could overwhelm your chosen location.
Realism versus abstraction
While realistic designs can be impressive, don’t be afraid to explore more abstract or artistic styles. Sometimes, a unique design can draw attention away from the temporary nature of the tattoo, leaving onlookers none the wiser.
Preparing Your Skin
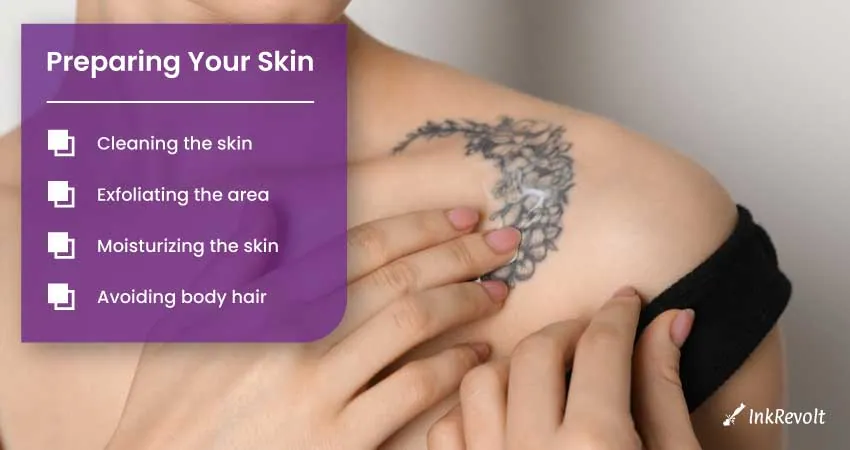
Before applying your fake tattoo, it’s essential to prep your skin properly. A smooth, clean canvas will not only make the tattoo look better, but it’ll also help it last longer. Here’s what you need to do:
Cleaning the skin
Using soap and water, gently cleanse the area
where you plan to apply the tattoo. This will remove any dirt, oils, or sweat that could interfere with the tattoo’s adhesion.
Exfoliating the area
Gently exfoliate the skin using a scrub or a loofah to remove any dead skin cells. This step will help your temporary tattoo adhere more effectively and last longer. Just be sure not to overdo it—we don’t want any unintended redness stealing the spotlight from your new ink!
Moisturizing the skin
After exfoliating, apply a light, non-greasy moisturizer to the area. Well-hydrated skin will provide a better surface for the tattoo, helping it appear more realistic. However, avoid applying too much lotion, as it could create a barrier that prevents the tattoo from adhering properly.
Avoiding body hair
For best results, choose an area with minimal body hair. If necessary, trim or shave the area before applying your temporary tattoo. Remember, no one wants their fake ink to look like it’s hiding in a forest!
Applying the Fake Tattoo
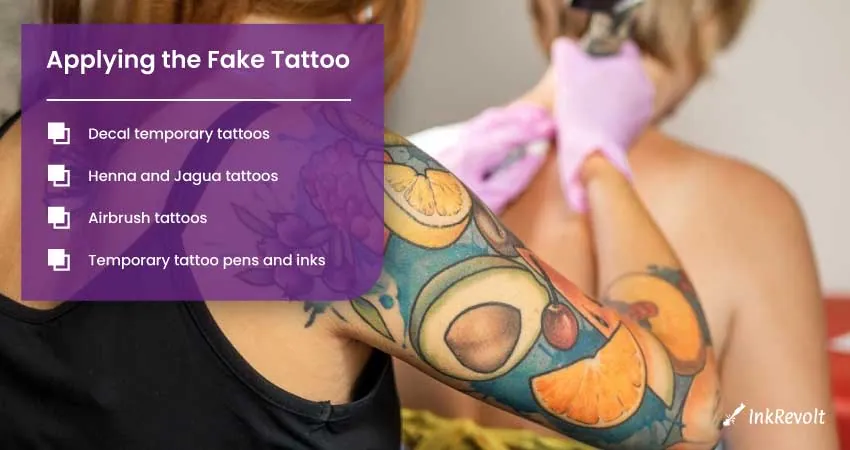
Now that your skin is prepped and ready, it’s time to dive into the application process. Depending on the type of temporary tattoo you’ve chosen, the process will vary slightly.
Decal temporary tattoos
- Cutting out the design: Carefully trim around the edges of the tattoo, leaving a small margin of paper. Precision is key—no one wants a random paper edge giving away their tattoo’s secret!
- Removing the protective layer: Gently peel off the clear plastic film covering the tattoo. Be careful not to touch the design, as your fingers could transfer oils that may affect adhesion.
- Applying pressure and water: Place the tattoo face down on your skin and press firmly. Using a wet sponge or cloth, thoroughly dampen the paper backing. Hold the sponge in place for 30-60 seconds, ensuring the entire tattoo is saturated.
- Removing the paper backing: Slowly and carefully peel off the paper, revealing your new temporary ink. If any part of the design didn’t transfer, press the paper back down and apply more water.
Henna and Jagua tattoos
- Preparing the paste: Mix the henna or jagua powder with the appropriate liquid (usually water, lemon juice, or a pre-packaged solution) until you reach a smooth, thick consistency.
- Applying the design: Using a cone, applicator bottle, or brush, carefully draw your design onto the skin. Steady hands are crucial here—no one wants a shaky line to ruin their tattoo’s realism!
- Allowing the paste to dry: Let the henna or jagua paste dry on your skin for several hours, or even overnight, depending on the desired intensity. The longer the paste is left on, the darker and longer-lasting the stain will be.
- Removing the dried paste: Once the paste is completely dry, gently scrape or peel it off. Avoid washing the area for at least 12 hours to allow the stain to fully set.
Airbrush tattoos
- Stencils and freehand techniques: Decide whether you’d like to use a stencil or go freehand with your design. Stencils can provide clean, precise lines, while freehand designs allow for more artistic freedom.
- Using professional equipment: An airbrush machine and specialized ink are necessary for this method. Familiarize yourself with the equipment and practice your technique on paper or a fake skin before attempting it on your own skin.
- Spraying the ink: Hold the airbrush gun at the appropriate distance from your skin (usually around 6 inches) and begin applying the ink in smooth, even strokes. If using a stencil, ensure it is securely adhered to your skin to avoid smudging.
- Allowing the ink to dry: Give the airbrush ink a few minutes to dry before touching the area or applying any setting products. Patience is a virtue—especially when it comes to airbrush tattoos!
Temporary tattoo pens and inks
- Drawing the design: Using the pen or brush, carefully draw your design directly onto the skin. Keep a steady hand and take your time—this isn’t a race!
- Filling in with color: If desired, add color to your design using additional pens or brushes. Be mindful of color choices and shading techniques to enhance the tattoo’s realism.
- Allowing the ink to dry: Give the ink ample time to dry before touching the area or applying any setting products. The last thing you want is a smudged masterpiece!
Enhancing the Appearance of Temporary Tattoos
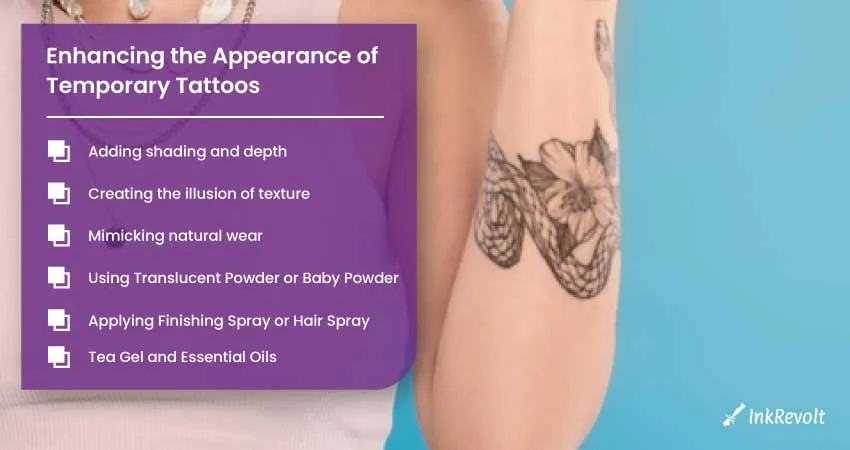
To take your fake tattoo to the next level, consider these tips for boosting its authenticity:
Adding shading and depth
Incorporate shading and depth into your design by using different shades of ink or varying the pressure of your application tool. This can create a more three-dimensional appearance, mimicking the look of a real tattoo.
Creating the illusion of texture
Incorporate texture into your design by using stippling, cross-hatching, or other shading techniques. These methods can make your tattoo appear more intricate and realistic, as if it were etched into your skin.
Mimicking natural wear
Real tattoos often fade and wear over time. To replicate this effect, use a cotton swab dipped in rubbing alcohol to gently “age” your design. Be cautious, though—too much wear could turn your masterpiece into a blurry mess!
Using Translucent Powder or Baby Powder
Applying translucent powder or baby powder over the tattoo helps remove any shine and provides a matte finish. This step makes the temporary tattoo look more like a real one. While both powders work well, translucent powder, commonly found in cosmetics stores, may offer a more matte appearance.
Applying Finishing Spray or Hair Spray
A finishing spray, available at party supply stores, or hair spray can act as a sealant for your temporary tattoo. This layer of protection makes the tattoo look more realistic and last longer, even after exposure to water or friction. Ensure the spray dries completely before touching or covering the tattooed area.
Tea Gel and Essential Oils
Tea gel and essential oils like tea tree oil can enhance the appearance of temporary tattoos. These products can help fight off bacteria, prevent skin rashes, and maintain the tattoo’s integrity. If you experience any bubbling or lifting after applying the tattoo, a tea tree oil salve may help remedy the issue.
Caring for Your Fake Tattoo

To ensure your temporary tattoo lasts as long as possible, follow these simple care tips:
- Avoid rubbing or scratching the area, as this can cause the design to fade or smudge.
- Keep the tattoo clean and moisturized, but avoid using oil-based products, as they may cause the ink to break down.
- When showering, try not to soak the tattoo for too long or scrub it vigorously.
- If you need to remove the tattoo, use rubbing alcohol, baby oil, or adhesive tape to gently lift the design from your skin.
Removing Temporary Tattoos
When it’s time to remove your temporary tattoo, you can use rubbing alcohol, baby oil, or an adhesive remover designed for temporary tattoos. Gently rub the area with a cotton ball soaked in the chosen solution, and the design will gradually dissolve. Avoid harsh scrubbing to prevent skin irritation.
Parting Words
Creating a realistic fake tattoo is an art form, requiring attention to detail, proper skin preparation, and skillful application. By following the steps outlined in this guide and incorporating some creativity, you can achieve a temporary tattoo that looks so real, you might even fool yourself!
So go ahead, experiment with new designs, and embrace the world of commitment-free body art—just don’t forget to take care of your skin and remove the tattoo gently when it’s time to say goodbye to your temporary masterpiece.