How to Make Fake Skin for Tattooing?
To become a successful tattoo artist, you’ll need to practice as much as you can. So, you need a cheap but quality canvas that you can practice on. But good alternatives or practice skins can be quite expensive. So, how to make fake skin for tattooing, and make it cheap?
You can make fake skin at home using Elmer’s glue, hot water, makeup or paint, and flour or cornstarch. Mixing flour and water will create a dough to which you can add the glue and flesh coloring. Rolling the dough flat will produce skin-colored sheets that you can practice tattooing on.
The process of making the fake tattoo is quite easy, but you’ll need a bit of elbow grease if you want to work on these all the time. So, why would you pick something that requires more effort when you can find quality alternatives on the market?
Why Make Fake Skin at Home?
Fake skins are readily available on the market. You can get packs of these skins, and they make good practice surfaces. You can even get pig skin which produces a human skin-like feeling, making the practice seems more realistic. Yet, they aren’t the best option for you.
Here are some issues that come with these practice skins.
- Cost: The cost of these skins isn’t cheap. Each sheet will cost you about $2, and it won’t reduce even if you buy in bulk. The pig skin is even more expensive, costing at least $5 per piece.
- Size: The size of these skins is a big issue. You’ll get standard cut sizes, which allow you to practice tattoos of sizes that would fit on an arm. But if you want to test yourself by practicing a larger tattoo, then you’ll have to spend extra, or you won’t get the size you need.
- Preservation: Most fake skins hold up quite well in reserve. But pig skin, which provides the most realistic experience, won’t hold up more than an hour or so. The skin integrity will rapidly decline if not kept cold, and you might not get the chance to work on it.
- Practicality: If you’re working as an apprentice, odds are you have to pay the tattoo shop for the training. You won’t have a primary source of income for a couple of years, other than working a side job. No matter how inexpensive fake skins may seem, every dime you can save will help sustain yourself. Making the skin yourself might seem like a hassle but making a batch of fake skin will cost a bare $0.90 at most.
If you want to make some extra cash on the side, you can also sell the skin to other apprentices too. Buying fake skins or pig skin will hurt your wallet over time, especially because you’ll also need machines, needles, colors, and more to practice.
How to Make Fake Skin for Tattooing at Home?
Before starting, you’ll need to gather the right materials. There are several types of fake skin available, each with its own unique properties. Silicone and gelatin-based options are quite popular, but DIY enthusiasts can also create homemade alternatives using liquid latex or a gelatin-glycerin mixture.
Setting the Stage: Workspace Essentials
Creating the perfect workspace is crucial for practicing your tattooing techniques. To set up a conducive environment, make sure your workspace is clean and sterile. This will help prevent contamination of your fake skin and tattooing tools. Additionally, ensure that the lighting is sufficient, as proper visibility is crucial when working on intricate designs. Finally, organize your tools and equipment so that they are easily accessible during the tattooing process.
1. Silicone-Based Skin: A Smooth Canvas
Silicone-based fake skin is favored by many tattoo artists because it closely mimics the texture and elasticity of real skin. Here’s how to create your own silicone-based fake skin:
- Choose the right silicone: Opt for skin-safe, platinum-cure silicone, which is designed for use on or near the skin. These silicone types are usually available at specialty art or craft supply stores.
- Mix the silicone: Combine the silicone with its catalyst according to the manufacturer’s instructions. Stir the mixture thoroughly to ensure even curing.
- Pour the silicone into a mold: Use a flat, shallow container or a custom mold made from materials like plastic, acrylic, or glass. Pour the silicone mixture evenly into the mold, making sure there are no air bubbles.
- Cure the silicone: Allow the silicone to set for the specified duration, which may vary depending on the product. During this time, the silicone will solidify and become more like real skin.
- Finish the silicone fake skin: Once the silicone has fully cured, carefully remove it from the mold. Trim any excess material from the edges, and clean off any residual catalyst or other contaminants.
2. Gelatin-Based Skin: A Malleable Alternative
Gelatin-based fake skin is another popular choice for tattoo practice. Its malleable nature provides an interesting texture for artists to work on. Here’s how to make gelatin-based fake skin:
- Mix the gelatin solution: Combine gelatin powder, glycerin, and water in a bowl. The ratio of gelatin to glycerin will affect the fake skin’s firmness and elasticity, so experiment to find the right consistency for your needs.
- Pour and set the gelatin: Pour the mixture into a flat, shallow container, or a custom mold. Allow the gelatin to set at room temperature, which usually takes a few hours. For a faster setting time, refrigerate the mold.
- Cool and release the gelatin fake skin: Once the gelatin has set, refrigerate it for an additional 30 minutes to an hour to ensure it’s fully cooled. Carefully remove the fake skin from the mold, and it’s ready for tattooing practice.
3. DIY Liquid Latex Skin: Crafting on a Budget
For those on a tight budget, liquid latex offers a more affordable alternative to silicone or gelatin-based fake skin. Here’s how to create your own liquid latex fake skin:
- Mix latex and cornstarch: In a bowl, mix liquid latex with cornstarch to create a thick paste. The consistency should be similar to that of pancake batter.
- Apply layers of latex mixture: Using a brush or sponge, apply the latex mixture in layers onto a flat, non-stick surface, such as a silicone baking mat or wax paper. Allow each layer to dry before applying the next. The more layers you apply, the thicker the fake skin will be.
- Dry and peel off the fake skin: After applying the desired number of layers, let the latex dry completely. This may take several hours or even overnight, depending on the thickness. Once dry, carefully peel the fake skin off the surface, and it’s ready for tattooing practice.
4. Gelatin-Glycerin Fake Skin: A Flexible Option
Another DIY option for creating fake skin is using a mixture of gelatin and glycerin. This combination results in a flexible, durable practice surface that closely resembles real skin. Here’s how to make gelatin-glycerin fake skin:
- Mix gelatin, glycerin, and water: In a saucepan, combine equal parts of gelatin powder, glycerin, and water. Stir until the ingredients are well mixed.
- Heat the mixture: Place the saucepan over low heat, gently warming the mixture until it becomes smooth and free of lumps. Be careful not to let it boil, as this could cause the mixture to become too thick or damage its properties.
- Pour and set the gelatin-glycerin fake skin: Pour the warm mixture into a flat, shallow container, or a custom mold. Allow the mixture to set at room temperature until it solidifies, which may take a few hours.
- Remove the fake skin from the mold: Once the gelatin-glycerin mixture has set, carefully remove the fake skin from the mold. It’s now ready for tattooing practice.
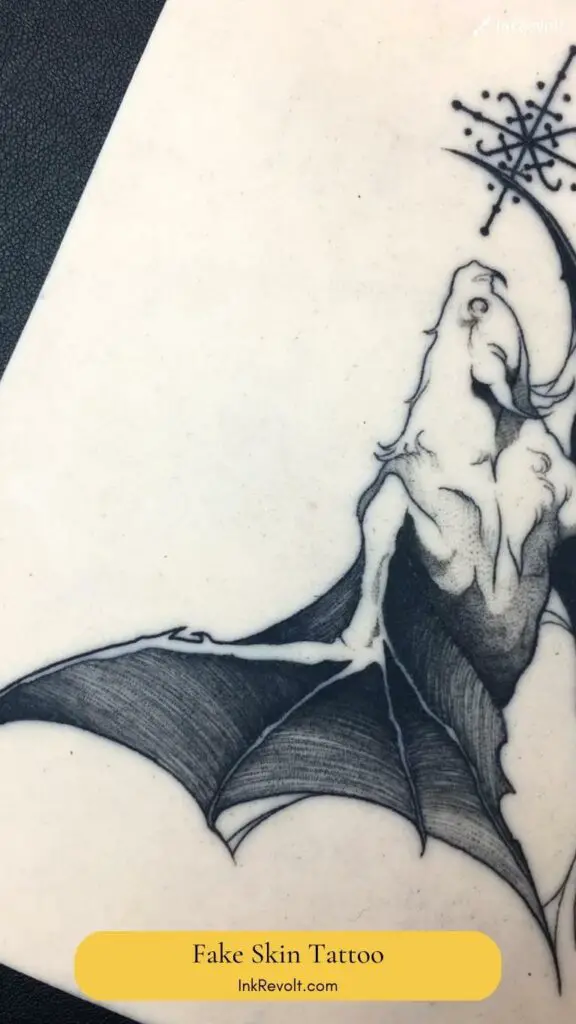
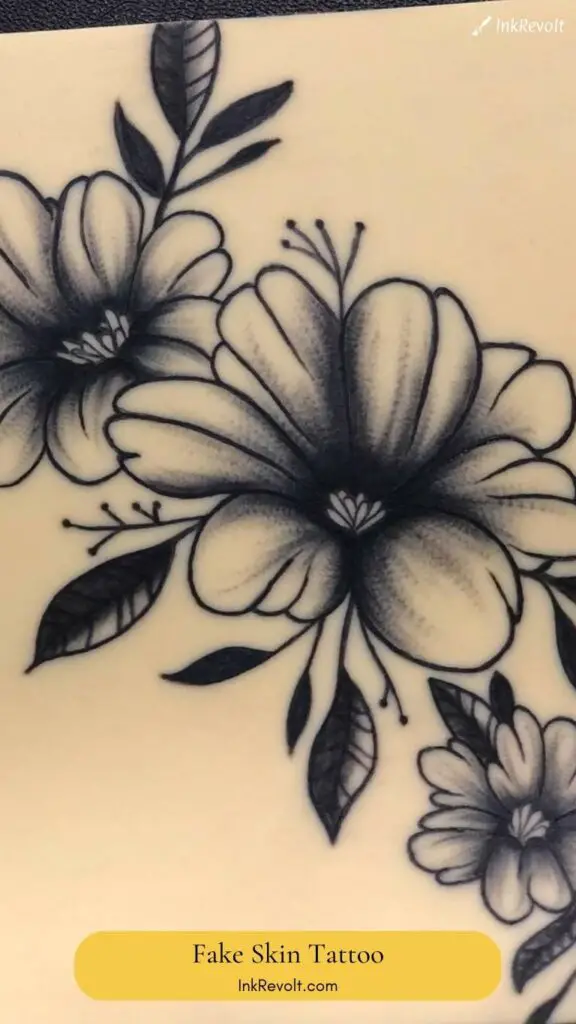
Tattooing on Fake Skin: The Main Event
Now that you have your fake skin, it’s time to practice your tattooing techniques. Here are some tips to help you get started:
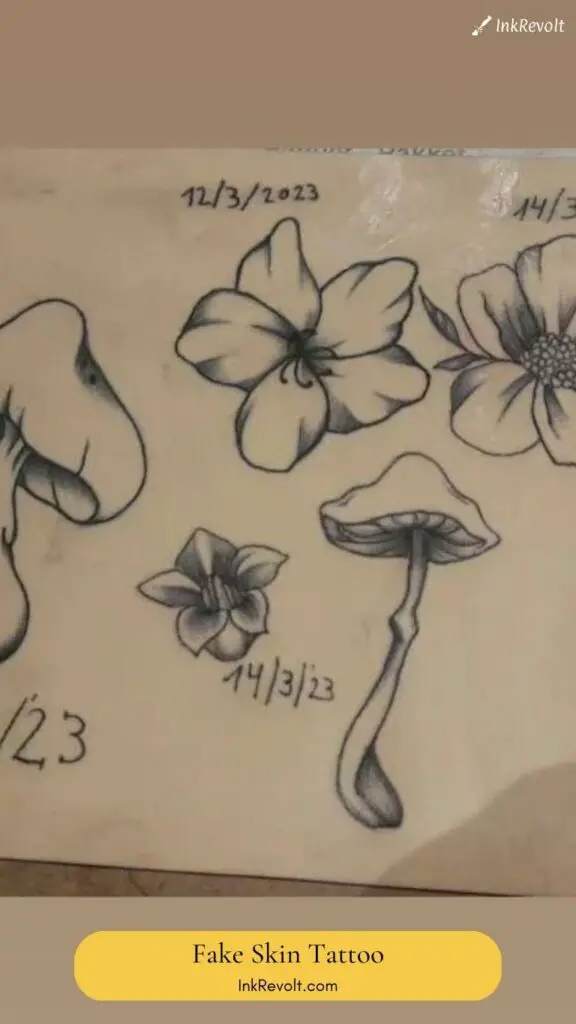
- Transfer tattoo designs: Use stencil paper to transfer designs onto the fake skin, or draw directly onto the surface using a pen or marker. This will help you practice both stencil application and freehand tattooing.
- Adjust needle depth and speed: When tattooing on fake skin, experiment with adjusting the needle depth and machine speed to simulate the feel of tattooing on real skin. This will help you gain a better understanding of how different settings affect your work.
- Practice shading and line work: Focus on refining your shading and line work techniques, as these are critical skills for any tattoo artist. Pay close attention to the consistency of your lines, the smoothness of your shading, and the overall balance of your design.
Tips for Practicing Tattoo Techniques on Fake Skin
As you continue to practice your tattooing skills, consider the following tips to make the most of your fake skin:
- Create various skin textures and thicknesses to simulate different types of real skin. This will help you become more adaptable and confident when working on clients with varying skin characteristics.
- Experiment with different needle types and sizes to familiarize yourself with the effects they produce. This will allow you to choose the most suitable needles for your designs and clients’ preferences.
- Practice tattoo aftercare techniques, such as applying ointment or wrapping the tattooed area, to develop good habits that will translate to your work on real skin.
Additional Read:
Conclusion
As an apprentice or an aspiring artist, you need to practice as much as you can and as often as you can. Not having a canvas or practice skin shouldn’t stop you from it. Knowing how to make fake skin for tattooing will allow you to always have access to a large quantity to work with.
While practicing, you shouldn’t fret about experimenting or taking risks. Otherwise, you won’t learn. With this recipe, you’ll never have to worry about running out. Remember to always expand your horizons, and master new styles of artwork.